Tag Archives: Class B RV

Hitting the road in our “new” Roadtrek 210 for a trial run …

Summer is a crazy time for us both – Craig is gigging and we both have all sorts of writing assignments on the go. This translates into very few available days for our camper van travels. We always try to head out for several long (6-8 week) trips in the delicious fall and spring “shoulder seasons” when campsites are only half-filled and the weather still tempts. Shoulder season works the best for our lifestyle.

DSCN4487


Read below for two parts: 1. Our Vermont camping trip and 2. What we learned about Class B travel this time around.

1. VERMONT IN THE SUMMER

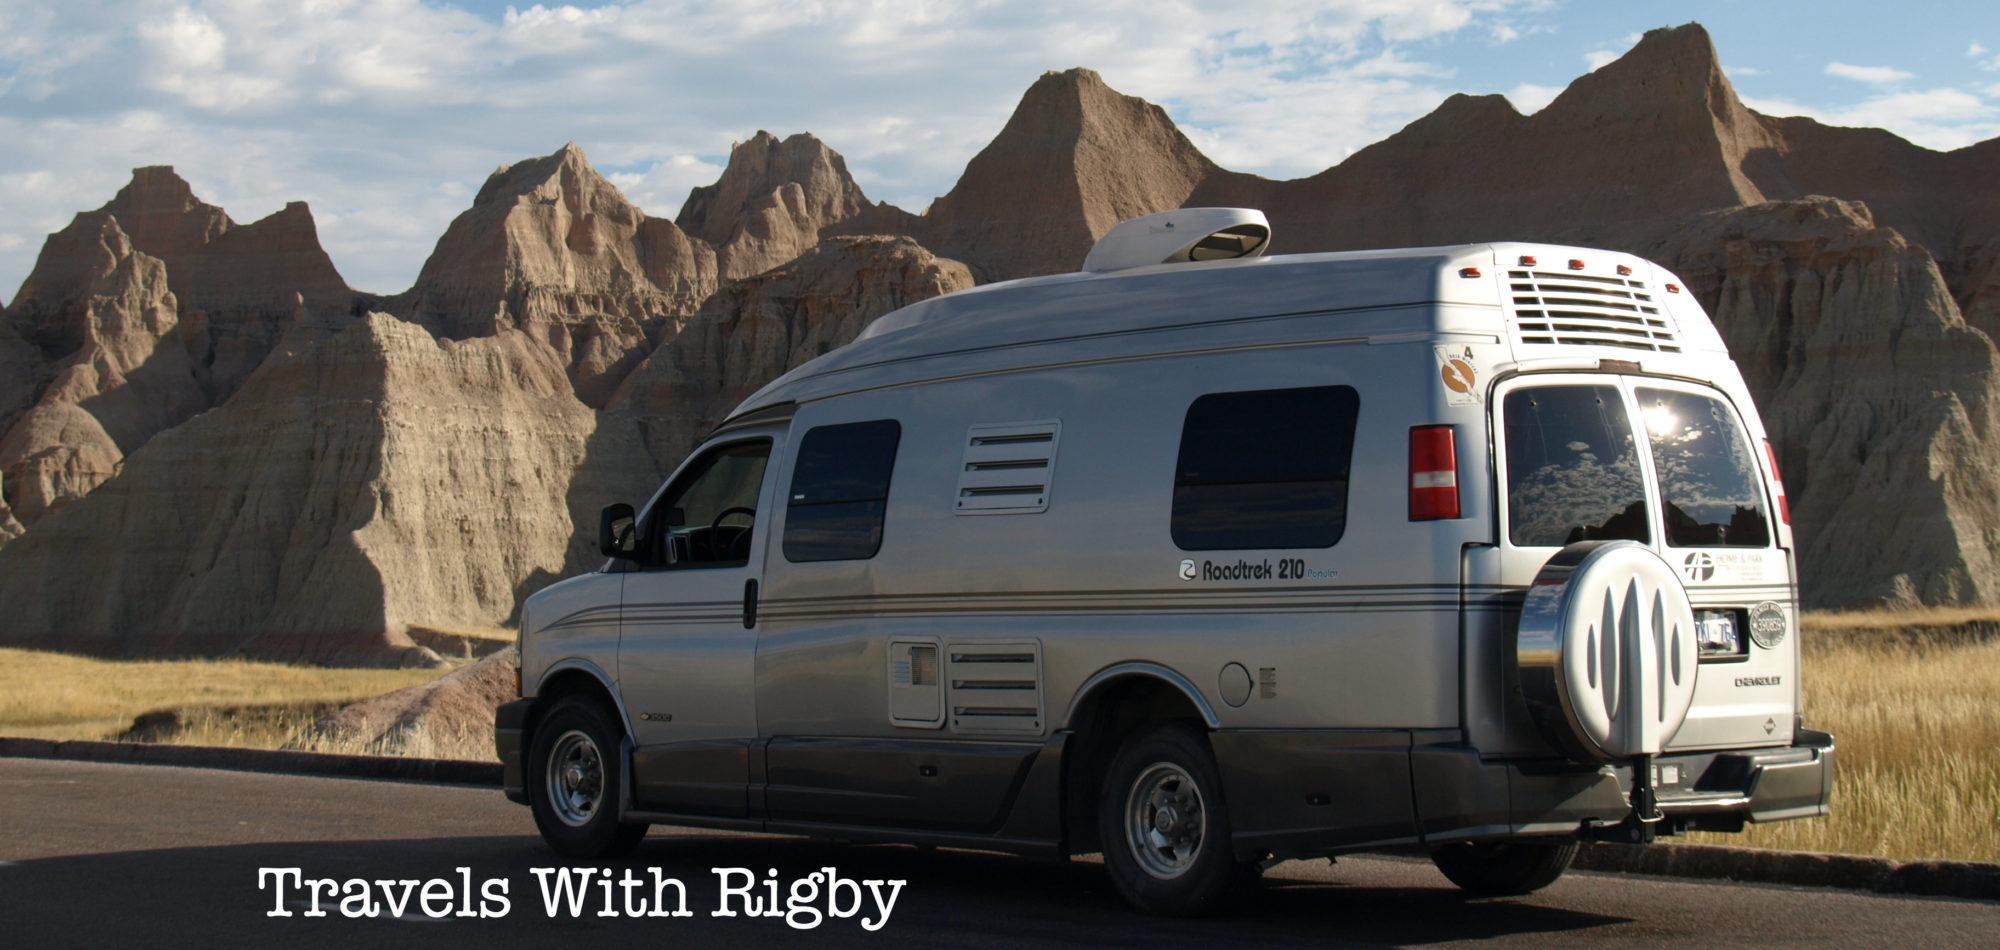
We’ve been itching to do a trial run in our newly acquired 2006 Roadtrek 210 (we are carrying over the van’s nickname – High Cotton), so we blocked off four summertime days and crossed the border into Vermont. We have a long trip coming up in the fall – exploring U.S. national parks in South Dakota, Wyoming, Utah and Colorado – and really needed to get acquainted with the workings of the “new” van before departing on the Big Trip. 2016 is the centenary of the U.S. National Park System.

The Vermont state parks are lovely – no hookups, so the big rigs stay away and the campgrounds are small, nicely wooded with nightly rates that are very affordable (even with the dollar exchange). It’s Class B heaven.

We hopped around the state, starting with our all-time Vermont favourite, Silver Lake State Park in the hamlet of Barnard, just north of beautiful Woodstock, VT. Silver Lake is compact, the swimming in the small lake is perfect, it’s a 10-minute stroll to the quintessential VT country store in Barnard, a five-minute drive to the trailheads of the Appalachian Trail, and just 15 minutes into Woodstock, home to beautiful New England architecture, the Marsh-Billings-Rockefeller National Historic Site and the time capsule at the Billings Farm & Museum.

DSCN4349

From there we travelled east, stopping at the Cabot Cheese outlet – loved the Alpine Cheese and the Special Reserve. Then north to Stillwater State Park, which was nice but a lot like our Ontario Parks, so we are not likely to travel there again, given that we have something very similar (and nice) just down the road from home.

Our final stay was at Grand Isle State Park, on Lake Champlain. It is one of Vermont’s largest state parks but did not seem huge or crowded. The sites were nice, clean and private. But the real find of the trip was the day-use park at Niquette Bay State Park (about 20 minutes north of Burlington, VT). What a fantastic find! It’s a one-mile hike through mature woods to the two swimming spots. We opted for Calm Cove: less crowded, slab rock shoreline, more secluded and – wait for it! …- off-leash dog friendly! Rigby had a blast jumping into the water and swimming about (as did we). There were three of four dogs there at a time – all well behaved with attentive owners. Not a single issue or problem. Niquette Bay is a bit off the beaten track, so fewer people go there, but it was the highlight of our travels.

DSCN4449


2. THE CLASS B LEARNING CURVE CONTINUES …

Vermont has hills – small by the Rockies standard but pretty big by Ontario stats. We learned that a Roadtrek 210 is not a car; it is more like a truck so it needs to be driven like one. On the long, winding downhills, this means being judicious with the brakes (or they will overheat – very scary) and shifting to low gears to use the engine to provide some of the braking needed. The advice we received was to power down when cresting a hill to be at the speed you’d like to drive down the hill at – then use the lower gear and brakes to maintain that low speed.

All in all, we are in love with our new High Cotton. It performed flawlessly and we had fun learning the new, upgraded systems – water, dump tanks, sleeping compartment, etc. We also added an external Coleman camp stove with a combination grill/burner bought at Canadian Tire. Our van has an external propane hookup to go directly to a BBQ, so it was super easy. The camp stove is more compact and more versatile than the larger barbecues. Loved, loved, loved it. Cooked and ate outside every day. And we happened to be in Vermont just as corn season was beginning.

DSCN4489

How to buy a used Class B RV

THE BASICS

We are Class B RV people. For those of you new to the world of RV travel, a Class B RV is a camper van conversion. The big names you’ll find of Class B campers are Roadtrek, Pleasureway and Leisure Travel. The two other motorized types are Class A (bus style) and Class C (the mid-size motorhome with a boxier style built onto a commercial chassis).

We write what we know about (i.e. tips for buying a used Class B RV) – our current Class B camper van is our fourth. The first three were older models and our current one is a new-to-us 2006 Roadtrek 210 in pristine condition with low mileage.

A lot of the questions and tips below would apply to the process for buying any used RV, regardless of the class or size.

Class A camperClass B camperClass C camper

First – and most importantly – determine exactly what sort of traveller and camper you are:

  • Are you comfortable driving a larger unit?
  • Who’s going to be doing most of the driving?
  • What are your budget limitations? Obviously, the larger the unit, the thirstier the engine. There’s also the question of gas vs diesel fuels (diesel gets better mileage).
  • Are you looking to visit out-of-the-way places? Some campgrounds – some of our favourites, as it turns out – have narrow roads and tight campsites. You don’t want to be trying to do three-point turns to shoehorn a Class A into a Class B-sized site. Some older cities like Santa Fe and New Orleans have narrow streets that would be a nightmare for larger motorhomes to navigate.

When we ticked the boxes, we found that a Class B vehicle is our best fit. It’s our comfort zone: smaller environmental impact, more flexibility, easier to manoeuvre. We lean toward the minimalist approach (don’t need or want TV or toasters). But it’s important to find your own level of comfort and to determine what bells and whistles you want.

It makes sense to invest a little to save a lot. Rent (or borrow) the size motorhome you are thinking of buying. Take it for a weekend and see if it is a good match for your needs and lifestyle. Last fall, we rented a larger Class C in Florida and it was just too much vehicle for our lifestyle – sure, there was more space inside but we couldn’t find parking spaces or back out of anywhere without it becoming a big production. You’ll either be smitten (as we were with our Class B) or totally turned off (as we were by the larger Class C). Only you can decide.

NEW OR USED?

Ahhh . . . that is the question. It’s a matter of how deep your pockets are, and again, finding your comfort level with the mileage on the odometer. Campers and motorhomes are no different from passenger vehicles: the more miles on the ticker, the more wear and tear, the chance that something will eventually wear out or need to be replaced.

Just know that the motorhomes on the road these days can be very expensive new: $150,000 for a decked-out Class B would not be unusual. Class C motorhomes start at around $60,000 and rise rapidly and a bus-size Class A can easily top $250,000.

If you’re on a budget, it’s easy to make a case for buying used. May we suggest:

  1. Start searching now. The more units you see, the better idea you’ll have of the different models, interior layouts, price points and conditions. Look online at the manufacturer’s spec sheets (they are available for years gone by). We needed standing room (Craig is 6’2″) and once I looked at the spec sheets we were narrowed down to just a handful of makes and models. There’s a lot of variety on the market. That way, when you find the right unit for your needs and wallet, you’ll know right away. Check Kijiji, autoTRADER, RVT.com, local newspaper ads, online discussion boards for RVers and local RV dealers. Keep your eyes open when you’re driving around town – some units are parked in the driveway with “For Sale” signs in the window.
  2. Keeping an eye on ads at autoTRADER, RVT.com or Kijiji gives you an idea of what sale prices are for units by year and mileage. It’s all part of the education. You can also search online at the NADAguides – although the prices given are tracking U.S. sales.
  3. Talk to other RV owners to ask what they’d wish they’d known when they purchased their first unit.
  4. If buying an RV is a new venture for you, try to bring along a friend who has been down that road before. They’ll have ideas for what to look for and a familiarity with the basics of a camper van.
  5. When you find something you’re interested in begin with a phone call and a list of questions (see below). If things look good arrange a time to see and test drive the unit. When you call, ask that the camper features be up and running so they can be tested: the propane for the fridge and cooktop, the fridge should be turned on and running, etc. Bring along your full checklist of things to ask and features to test. Take a lot of notes.
  6. Seeing makes all the difference. Layouts vary from one model to the next and you’ll need to find the one that works for you. Craig is over six feet, so testing the comfort of the driving compartment, the length of the bed and headroom standing in the living quarters of the van were make-or-break.
  7. Make sure to connect with your insurance agent to get a quote. It’s an important budgeting step.
  8. Be patient. Look around and sooner or later the right one will come onto your radar. It took us 14 months of searching to find our current Roadtrek but we looked around a lot, so as soon as we found it, we knew it was the right one.

FEATURES TO THINK ABOUT

  • Type of fuel and rate of consumption.
  • How comfortable are you backing up? A back-up camera may be for you. Some new models combine GPS and backup camera.
  • In our experience, as the bed goes, the trip goes. If we sleep well, we travel well. In our Roadtrek, the back dinette becomes a king-size bed (we keep it in bed mode the whole time rather than switching back and forth). We top it with several inches of memory foam, then a mattress cover, sheets and duvet. The memory foam smooths out the dips and crevices between the couch bed sections. Make sure you can comfortably make up the bed – in some cases it requires a certain amount of gymnastic prowess.
  • Is a shower in the unit important? Or will you be relying on showers in campground comfort stations? Check the one inside and (if equipped) the outdoor shower.
  • Do you need a microwave? We had one in our old Leisure Travel and never used it once.
  • Planning on camping in either hot weather (need an air conditioner?) or cold weather (need a heater?).
  • Make sure to run the Fantastic Fan (or similar ceiling exhaust fan). This is one piece on equipment you want to have in tip-top shape. It keeps things cool and the air fresh.
  • How about a generator? Some people claim they need it for boondocking, but we’ve spent many days in non-electrical sites and never run down our shore battery. I guess it depends on how many and what kinds of electrical do-dads and gadgets you use. We keep to lights, pumps and recharging our laptops and cameras . . . and that’s pretty much it.
  • Space requirements: length of the bed, height inside for standing, size of the driving compartment, inside table space (for working or eating), storage space for clothing, instruments, fishing gear, etc.
  • If you plan to do a lot of cooking, you’ll want adequate pantry space and storage for pots and pans. A large enough drawer for utensils and cutlery is really, really nice.

BUYING CHECKLIST

  • Why is the current owner selling? How long have they owned it?
  • Year and odometer reading?
  • Is the body dinged up? Has it ever been in an accident? Ask about any body work (accident related and not).
  • Gas consumption – gas or diesel, miles per gallon? City or highway driving?
  • How has the camper been used – how often, what times of the year, long trips or short trips, everyday driving or vacation travel? According to our mechanic, infrequent use is not necessarily a good thing.
  • How has it been stored – especially over the winter months?
  • Who does the regular maintenance – owner or mechanic? Are there records showing regular oil changes, tune-ups, etc.?
  • Wear and tear on the tires? Check the condition of the spare.
  • Test the batteries – both the engine battery and the leisure/shore battery (the one that runs the interior lights, water pump to the sink and toilet, etc.).
  • Have major mechanical parts been repaired or replaced. This would include transmission, brakes, shocks and struts, timing belt, alternator, etc. Are there any written records of this work that show the date/mileage point and the work done?
  • Run the water systems: turn the taps on at the sink, flush the toilet, run the showers (inside and outside if there is one).
  • Test the propane burners on the stove.
  • Inspect the propane tank and, if required, check the certification date. In Ontario, propane tanks need a clean bill of health every few years or the filling stations will not refill your tank. Propane regulations vary and are different in each province or state. Replacing the propane tank is . . . expensive.
  • Run the generator. Our manual suggests we run the generator for 20 minutes every month. Ask if it has been used regularly.
  • Test the microwave if there is one – you’ll need to be connected to a land power source.
  • Turn on the heater and play with the thermostat to make sure that it blows hot air.
  • Turn on the air conditioner (you’ll need to be hooked into land power for this).
  • Test the ceiling vent fan. The brand Fantastic Fan is the most common and it moves a lot of air very efficiently.
  • Test all the inside lights.
  • Test the fridge on all settings. We have three-way fridge that runs on 12V, electrical hookup and propane. Chances are you’ll be using the propane hookup and the electrical connection at a campground.
  • Inspect the condition of the carbon-monoxide alarm, smoke detector, fire extinguisher.
  • Check the condition of walls, ceiling (have there been any leaks?) and flooring.
  • Check the condition of the cushions – especially on the bed area – and the curtains.
  • Check the outlet valves for the grey water and black water (sewage) tanks.
  • Unroll the awning (if equipped) and check for rips, tears and condition of the mechanism. Did you know the number 1 RV insurance claim is awning related?

The chances are that the unit you’re looking at will need some modifications and/or repairs. Best to know what they are right from the start.

For a printable version of this checklist, click here: Camper van – inspection checklist